Hello Window
Let's see if we can get GLFW up and running. First, let's initialize GLFW and instantiate the GLFW window:
public void run() {
    if (glfw.init() != GLFW.TRUE) {
        throw new RuntimeException("Failed to initialize GLFW");
    }

    glfw.windowHint(GLFW.CONTEXT_VERSION_MAJOR, 3);
    glfw.windowHint(GLFW.CONTEXT_VERSION_MINOR, 3);
    glfw.windowHint(GLFW.OPENGL_PROFILE, GLFW.OPENGL_CORE_PROFILE);
}
In the main function we first initialize GLFW with GLFW::init, after which we can configure GLFW using GLFW::windowHint. The first argument of GLFW::windowHint tells us what option we want to configure, where we can select the option from a constant class GLFWConstants. The second argument is an integer that sets the value of our option. A list of all the possible options and its corresponding values can be found at GLFW's window handling documentation. If you try to run the application now and it gives a lot of undefined reference errors it means you didn't successfully link the GLFW library.
Since the focus of this book is on OpenGL version 3.3 we'd like to tell GLFW that 3.3 is the OpenGL version we want to use. This way GLFW can make the proper arrangements when creating the OpenGL context. This ensures that when a user does not have the proper OpenGL version GLFW fails to run. We set the major and minor version both to 3. We also tell GLFW we want to explicitly use the core-profile. Telling GLFW we want to use the core-profile means we'll get access to a smaller subset of OpenGL features without backwards-compatible features we no longer need. Note that on Mac OS X you need to add glfw.windowHint(GLFW.OPENGL_FORWARD_COMPAT, GL.TRUE); to your initialization code for it to work.
Make sure you have OpenGL versions 3.3 or higher installed on your system/hardware otherwise the application will crash or display undefined behavior. To find the OpenGL version on your machine either call
glxinfoon Linux machines or use a utility like the OpenGL Extension Viewer for Windows. If your supported version is lower try to check if your video card supports OpenGL 3.3+ (otherwise it's antique) and/or update your drivers.
Next we're required to create a window object. This window object holds all the windowing data and is required by most of GLFW's other functions.
GLFWwindow window = glfw.createWindow(
        800,
        600,
        BytePtr.allocateString(Arena.global(), "LearnOpenGL"),
        null,
        null
);
if (window == null) {
    throw new RuntimeException("Failed to create GLFW window");
}
glfw.makeContextCurrent(window);
The GLFW::createWindow function requires the window width and height as its first two arguments respectively. The third argument allows us to create a name for the window; for now we call it "LearnOpenGL" but you're allowed to name it however you like. We can ignore the last 2 parameters. The function returns a GLFWwindow handle object that we'll later need for other GLFW operations. After that we tell GLFW to make the context of our window the main context on the current thread.
Loading OpenGL functions
After creating the window and thus having the OpenGL context, we can start loading the OpenGL functions. Create a private field:
private GL gl;
Then load GL functions with the GLFW provided loader function: GLFW::getProcAddress:
gl = new GL(name -> {
    try (Arena arena = Arena.ofConfined()) {
        return glfw.getProcAddress(BytePtr.allocateString(arena, name));
    }
});
Where are my compatibility profile functions?
The
GLclass only provides access to the OpenGL core profile functions, and in this tutorial we will only use these core profile functions.However, if you look
GLclass closely, you'll find it's asealedclass and its only subclass isGLCompatibility, which extendsGLand provides access to the compatibility profile functions. If you want to use the compatibility profile, you can useGLCompatibilityinstead ofGL. Remember to updateGLFW::windowHintcall to use compatibility profile instead of core profile.
Viewport
Before we can start rendering we have to do one last thing. We have to tell OpenGL the size of the rendering window so OpenGL knows how we want to display the data and coordinates with respect to the window. We can set those dimensions via the GL::viewport function:
gl.viewport(0, 0, 800, 600);
The first two parameters of GL::viewport set the location of the lower left corner of the window. The third and fourth parameter set the width and height of the rendering window in pixels, which we set equal to GLFW's window size.
We could actually set the viewport dimensions at values smaller than GLFW's dimensions; then all the OpenGL rendering would be displayed in a smaller window and we could for example display other elements outside the OpenGL viewport.
Behind the scenes OpenGL uses the data specified via
GL::viewportto transform the 2D coordinates it processed to coordinates on your screen. For example, a processed point of location(-0.5, 0.5)would (as its final transformation) be mapped to(200, 450)in screen coordinates. Note that processed coordinates in OpenGL are between-1and1so we effectively map from the range(-1 to 1)to(0, 800)and(0, 600).
However, the moment a user resizes the window the viewport should be adjusted as well. We can register a callback function on the window that gets called each time the window is resized. This resize callback function has the following prototype:
void framebuffer_resize_callback(GLFWwindow* window, int width, int height);
The framebuffer size function takes a GLFWwindow as its first argument and two integers indicating the new window dimensions. Whenever the window changes in size, GLFW calls this function and fills in the proper arguments for you to process.
glfw.setFramebufferSizeCallback(window, (_, w, h) -> gl.viewport(0, 0, w, h));
When the window is first displayed, our lambda expression gets called as well with the resulting window dimensions. For retina displays width and height will end up significantly higher than the original input values.
There are many callbacks functions we can set to register our own functions. For example, we can make a callback function to process joystick input changes, process error messages etc. We register the callback functions after we've created the window and before the render loop is initiated.
Ready your engines
We don't want the application to draw a single image and then immediately quit and close the window. We want the application to keep drawing images and handling user input until the program has been explicitly told to stop. For this reason we have to create a while loop, that we now call the render loop, that keeps on running until we tell GLFW to stop. The following code shows a very simple render loop:
while (glfw.windowShouldClose(window) == GLFW.FALSE) {
    glfw.swapBuffers(window);
    glfw.pollEvents();
}
The GLFW::windowShouldClose function checks at the start of each loop iteration if GLFW has been instructed to close. If so, the function returns true and the render loop stops running, after which we can close the application.
The GLFW::pollEvents function checks if any events are triggered (like keyboard input or mouse movement events), updates the window state, and calls the corresponding functions (which we can register via callback methods). The GLFW::swapBuffers will swap the color buffer (a large 2D buffer that contains color values for each pixel in GLFW's window) that is used to render to during this render iteration and show it as output to the screen.
Double buffer
When an application draws in a single buffer the resulting image may display flickering issues. This is because the resulting output image is not drawn in an instant, but drawn pixel by pixel and usually from left to right and top to bottom. Because this image is not displayed at an instant to the user while still being rendered to, the result may contain artifacts. To circumvent these issues, windowing applications apply a double buffer for rendering. The front buffer contains the final output image that is shown at the screen, while all the rendering commands draw to the back buffer. As soon as all the rendering commands are finished we swap the back buffer to the front buffer so the image can be displayed without still being rendered to, removing all the aforementioned artifacts.
One last thing
As soon as we exit the render loop we would like to properly clean/delete all of GLFW's resources that were allocated. We can do this via the GLFW::terminate function that we call at the end of the run function.
glfw.terminate();
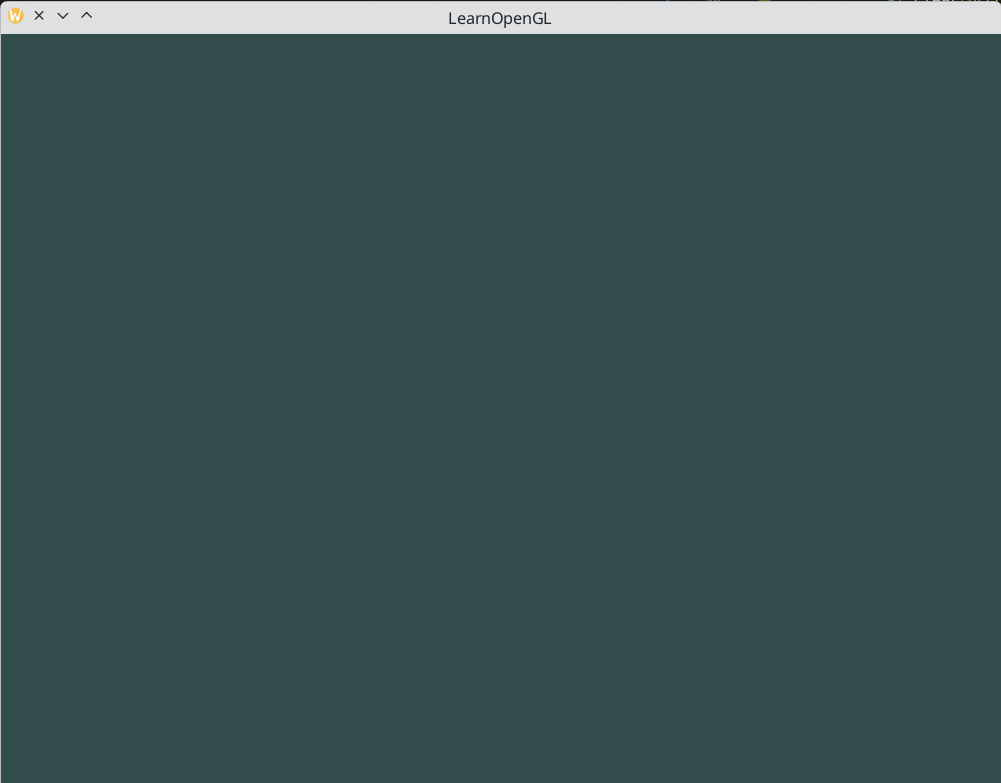
This will clean up all the resources and properly exit the application. Now try to compile your application and if everything went well you should see the following output:

If it's a very dull and boring black image, you did things right! If you didn't get the right image or you're confused as to how everything fits together, check the full source code (and if it started flashing different colors, keep reading).
Input
We also want to have some form of input control in GLFW and we can achieve this with several of GLFW's input functions. We'll be using GLFW's GLFW::getKey function that takes the window as input together with a key. The function returns whether this key is currently being pressed. We're creating a processInput function to keep all input code organized:
private void processInput(GLFWwindow window) {
    if (glfw.getKey(window, GLFW.KEY_ESCAPE) == GLFW.PRESS) {
        glfw.setWindowShouldClose(window, GLFW.TRUE);
    }
}
Here we check whether the user has pressed the escape key (if it's not pressed, GLFW::getKey returns GLFWConstants::RELEASE). If the user did press the escape key, we close GLFW by setting its WindowShouldClose property to true using GLFW::setWindowShouldClose. The next condition check of the main while loop will then fail and the application closes.
We then call processInput every iteration of the render loop:
while (glfw.windowShouldClose(window) == GLFW.FALSE) {
    processInput(window);

    glfw.swapBuffers(window);
    glfw.pollEvents();
}
This gives us an easy way to check for specific key presses and react accordingly every frame. An iteration of the render loop is more commonly called a frame.
Rendering
We want to place all the rendering commands in the render loop, since we want to execute all the rendering commands each iteration or frame of the loop. This would look a bit like this:
while (glfw.windowShouldClose(window) == GLFW.FALSE) {
    // input
    processInput(window);

    // rendering commands here
    ...

    // check and call events and swap the buffers
    glfw.swapBuffers(window);
    glfw.pollEvents();
}
Just to test if things actually work we want to clear the screen with a color of our choice. At the start of frame we want to clear the screen. Otherwise, we would still see the results from the previous frame (this could be the effect you're looking for, but usually you don't). We can clear the screen's color buffer using glClear where we pass in buffer bits to specify which buffer we would like to clear. The possible bits we can set are GL.COLOR_BUFFER_BIT, GL.DEPTH_BUFFER_BIT and GL.STENCIL_BUFFER_BIT. Right now we only care about the color values so we only clear the color buffer.
gl.clearColor(0.2f, 0.3f, 0.3f, 1.0f);
gl.clear(GL.COLOR_BUFFER_BIT);
Note that we also specify the color to clear the screen with using GL::clearColor. Whenever we call GL::clear and clear the color buffer, the entire color buffer will be filled with the color as configured by GL::clearColor. This will result in a dark green-blueish color.
As you may recall from the OpenGL chapter, the
GL::clearColorfunction is a state-setting function andGL::clearis a state-using function in that it uses the current state to retrieve the clearing color from.
So right now we got everything ready to fill the render loop with lots of rendering calls, but that's for the next chapter. I think we've been rambling long enough here.